Accounts Receivable (A/R) Module Product Map
Overview
General Forms & Features
General Business Rules, Processes, Forms and Features
| Section | Product Code/ Wiki Page | Description | Supporting Information | Developer |
|---|---|---|---|---|
| General | 101-ar | Accounts Receivable Module Overview | ||
| 101-ar-brules | System Integrity and Business Rules | System Registry | ||
| 100-ach | Centralized page for Automated Clearing House (ACH) | 100-ach (dev) | ||
| 100-pos | Centralized page for Point-of-Sale Processing (POS) | 100-pos (dev) | ||
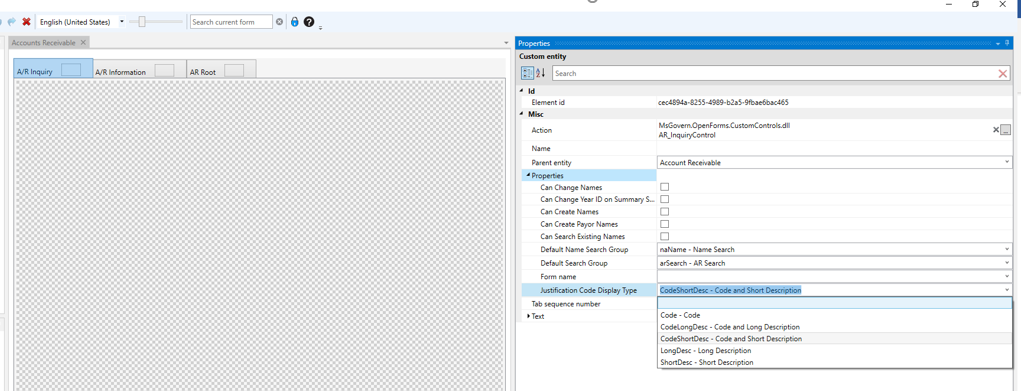
| A/R Forms | 101-ar-frm-001 | AR Inquiry | 101-ar-frm-001 | |
| 101-ar-frm-003 | AR Inquiry Notes with ACH Information | |||
| 101-ar-frm-004 | AR Inquiry ACH Information | General ACH Processing | ||
| 101-ar-frm-008 101-ar-fea-038 |
AR Inquiry Payment Plan AR Allow Payment Less Than Payment Plan Feature |
|||
| 101-ar-frm-006 | AR Deposit Management | |||
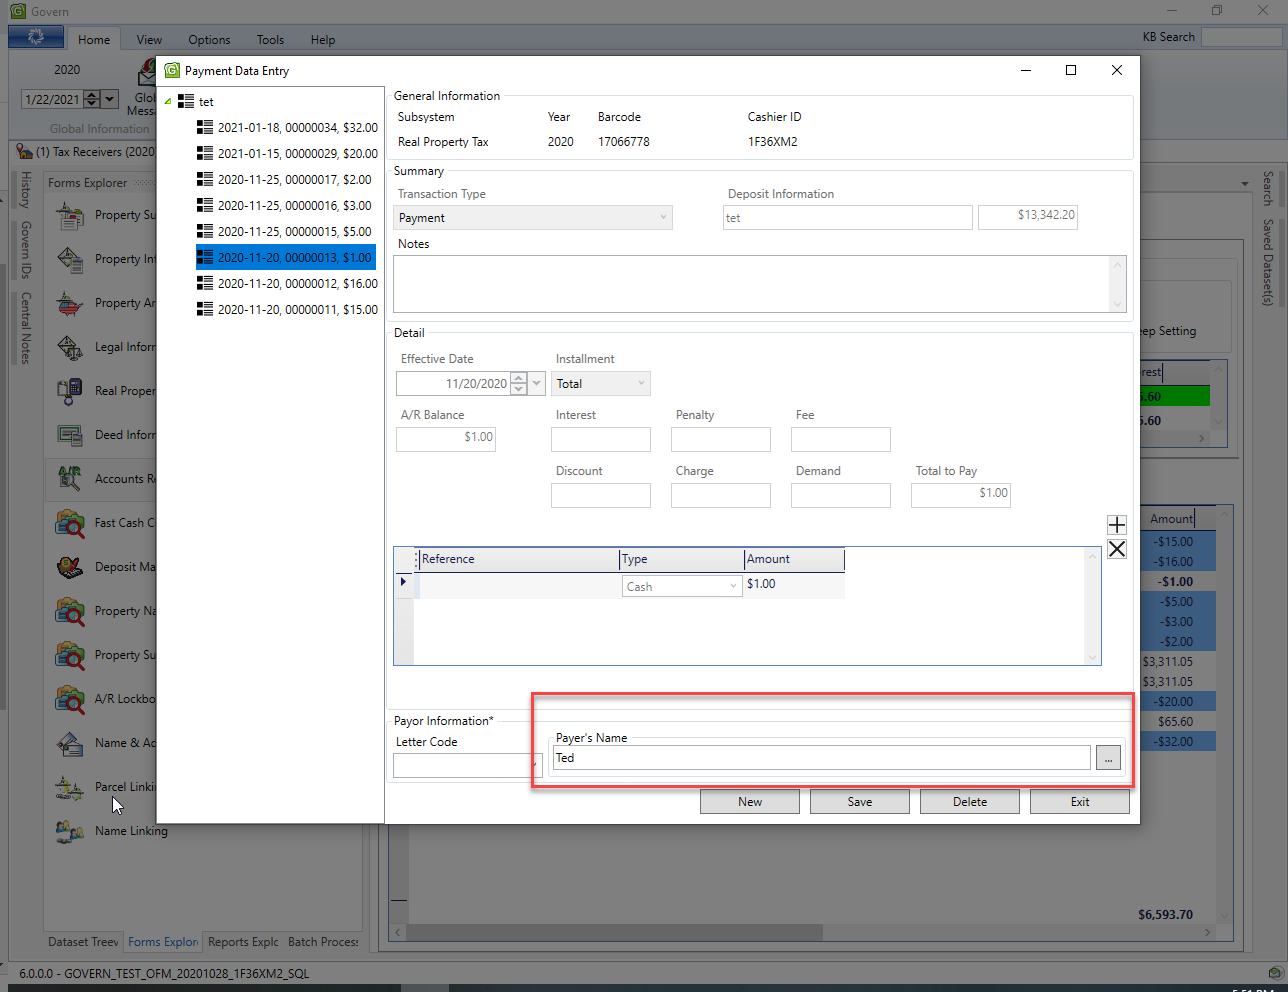
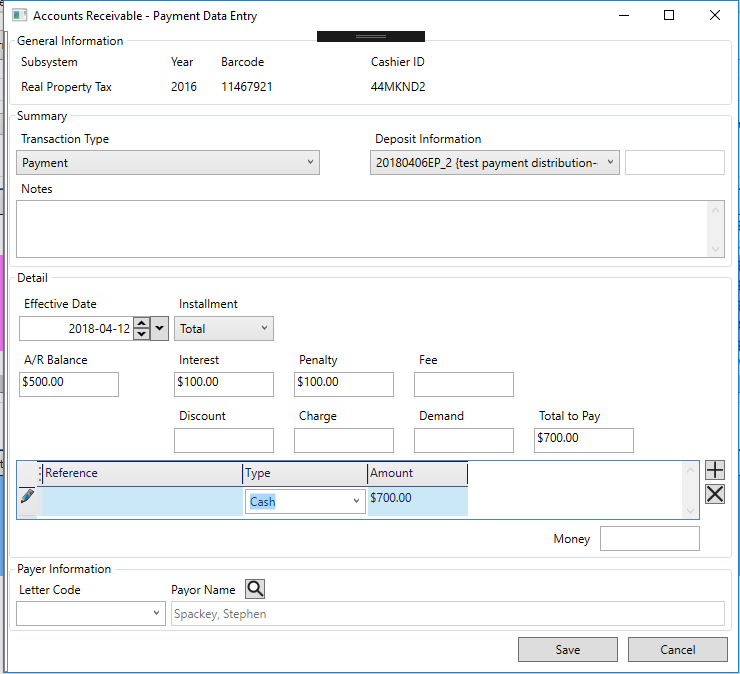
| 101-ar-frm-020 | AR Payment Data Entry | |||
| 101-ar-frm-021 | AR Data Entry – AR Transactions | |||
| 101-ar-frm-022 | AR Data Entry – Abatements and Exemptions | |||
| 101-ar-frm-023 | AR Data Entry – Adjustments | |||
| 101-ar-frm-024 | AR Data Entry – Interest, Penalties, Fees and Charges | |||
| 101-ar-frm-025 | AR Data Entry – Refunds | |||
| 101-ar-frm-026 | AR Data Entry – Payment Reversals | |||
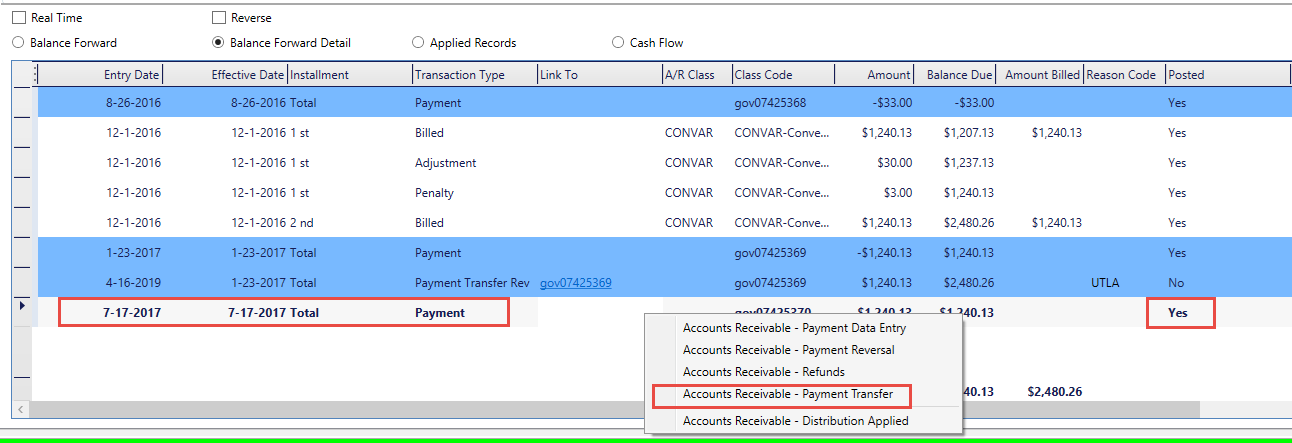
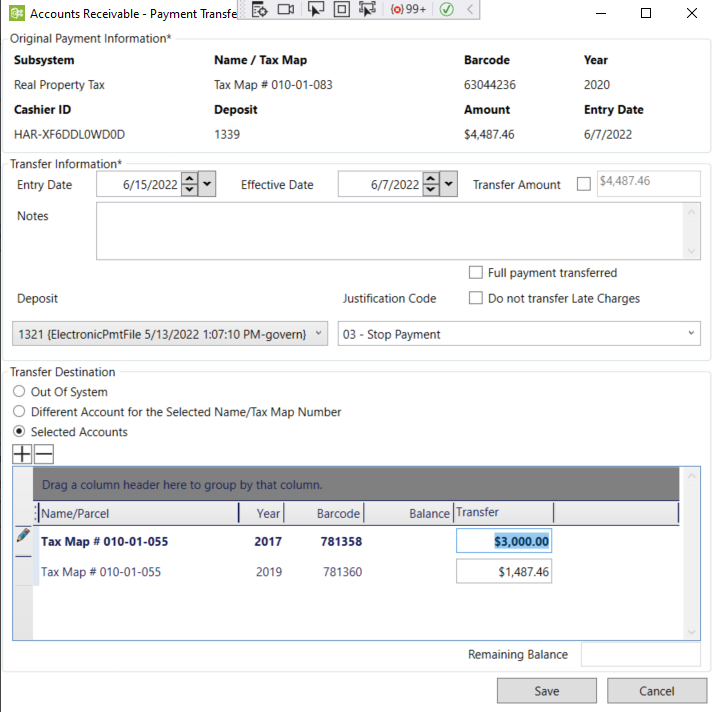
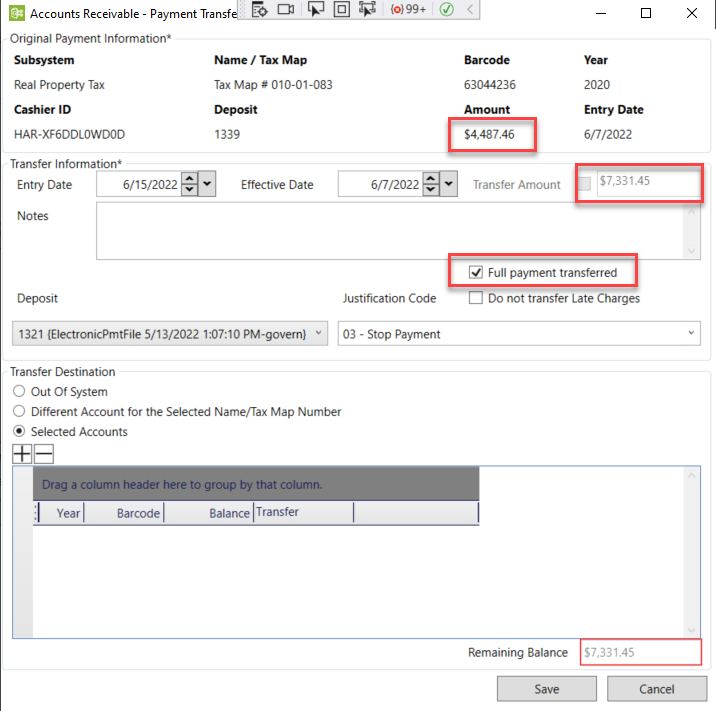
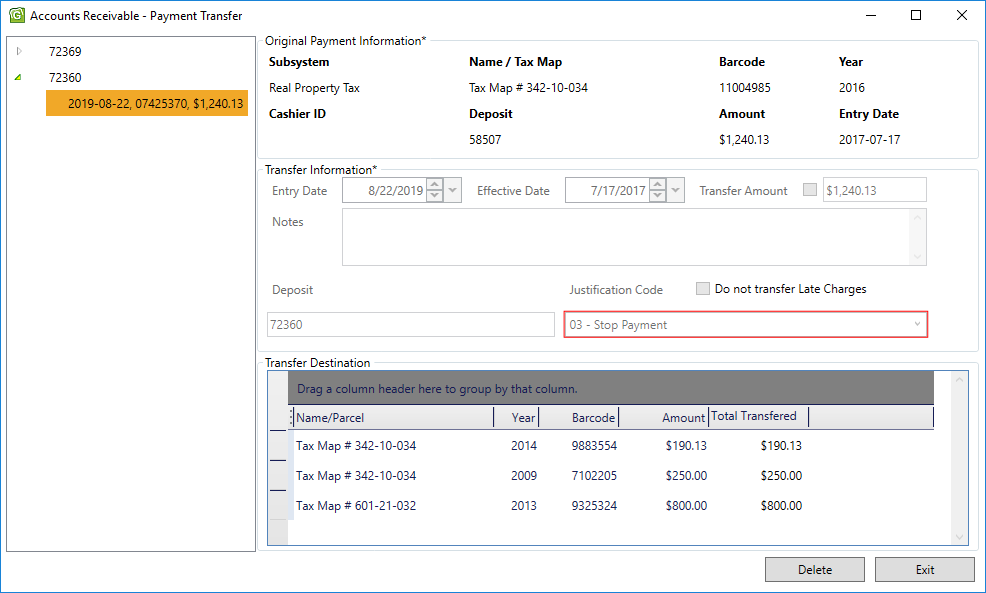
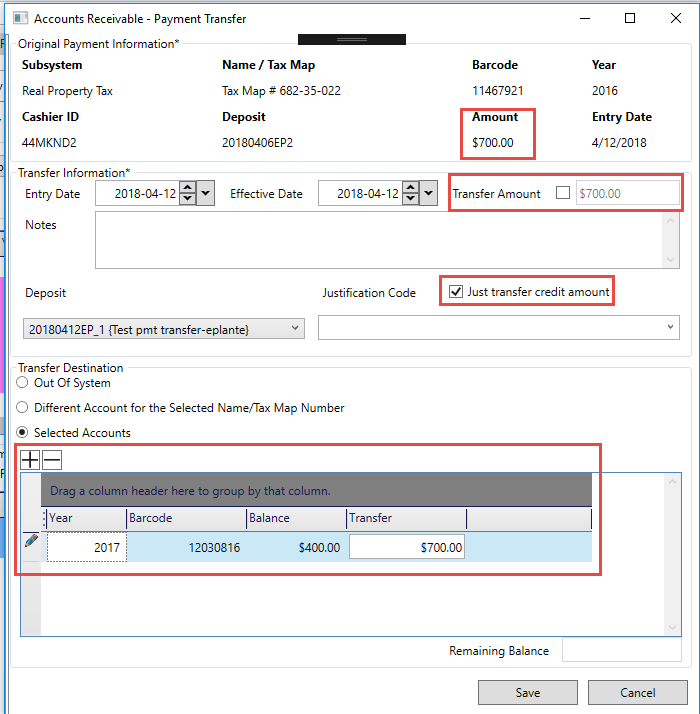
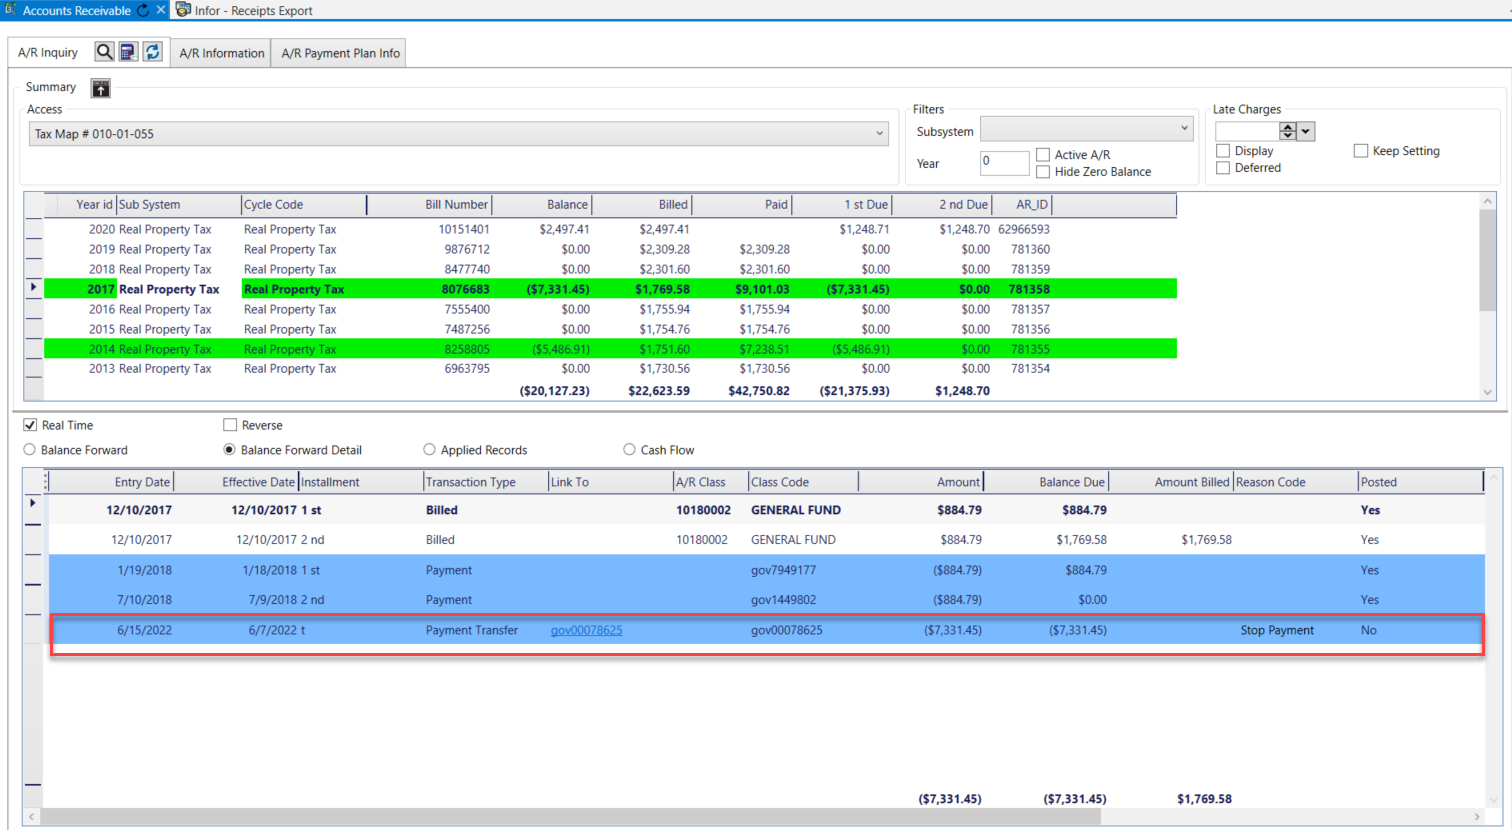
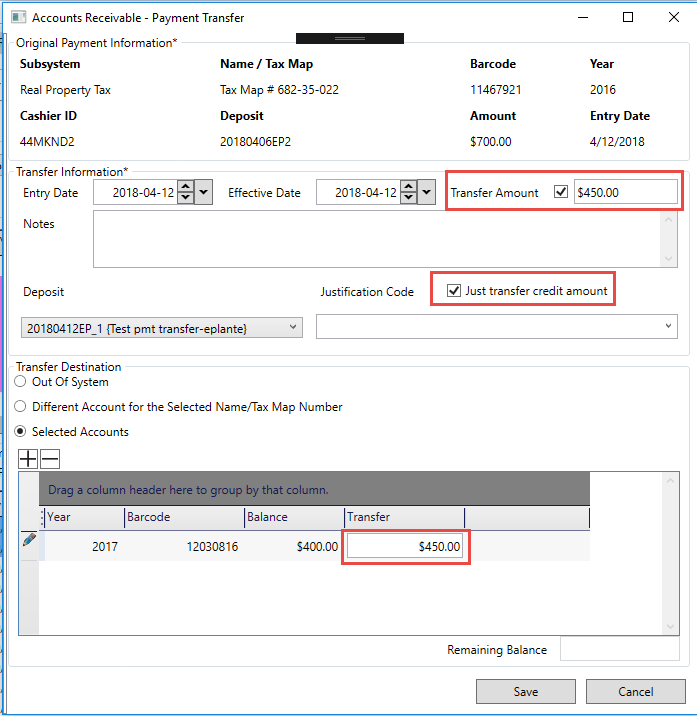
| 101-ar-frm-027 | AR Data Entry – Payment Transfer | |||
| 101-ar-frm-028 | AR Data Entry – Refund Reversals | |||
| A/R Features | 101-ar-fea-002 | Using Protest Flags | ||
| 101-ar-fea-003 | Receipting | |||
| 101-ar-fea-004 101-std-fea-004 |
Dynamic e-search – Standards A/R Dynamic e-search – Standards |
|||
| 101-ar-fea-010 | Accounts Receivable Interest & Penalty Methods | A/R Parameters | ||
| 101-ar-fea-005 | Overpayments (OCR & OCH processing) | |||
| 101-ar-fea-006 | ACH Processing General ACH Processing | |||
| 101-ar-fea-010 | A/R Credited Interest on Refund | |||
| 101-ar-fea-011 | A/R Class Code Included in Balance Forward | 101-ar-fea-011 | ||
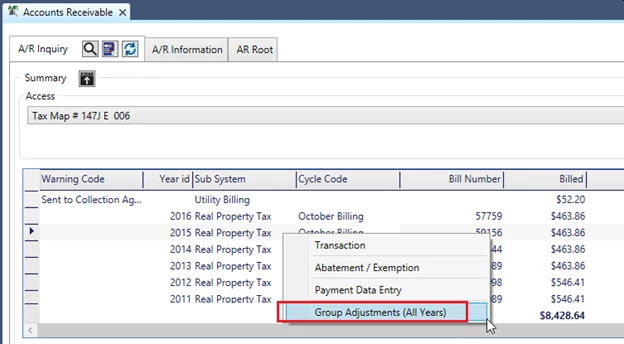
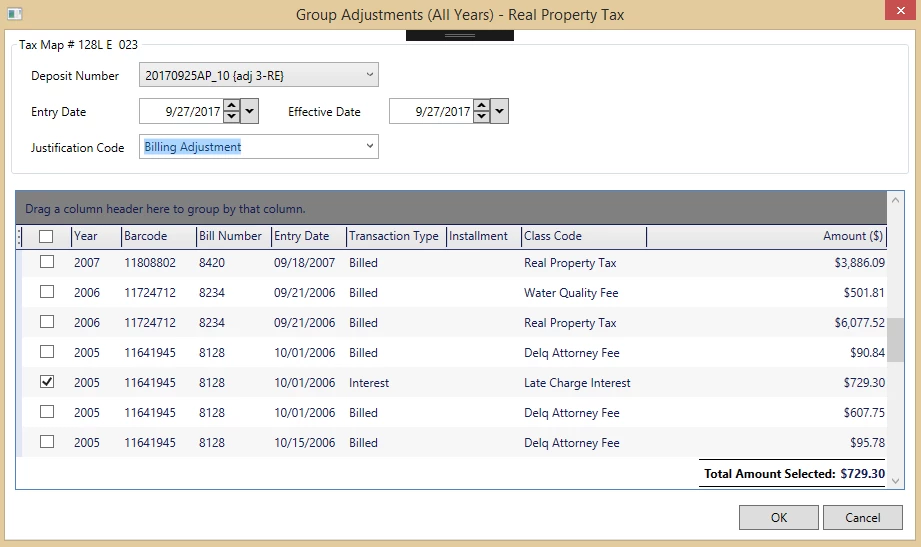
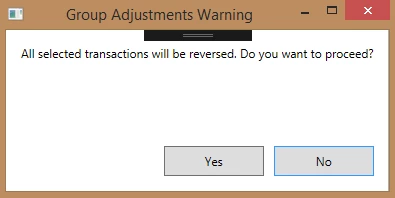
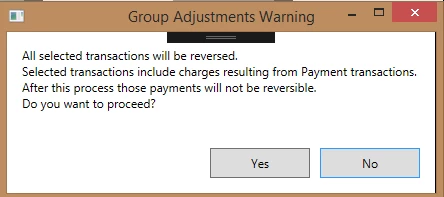
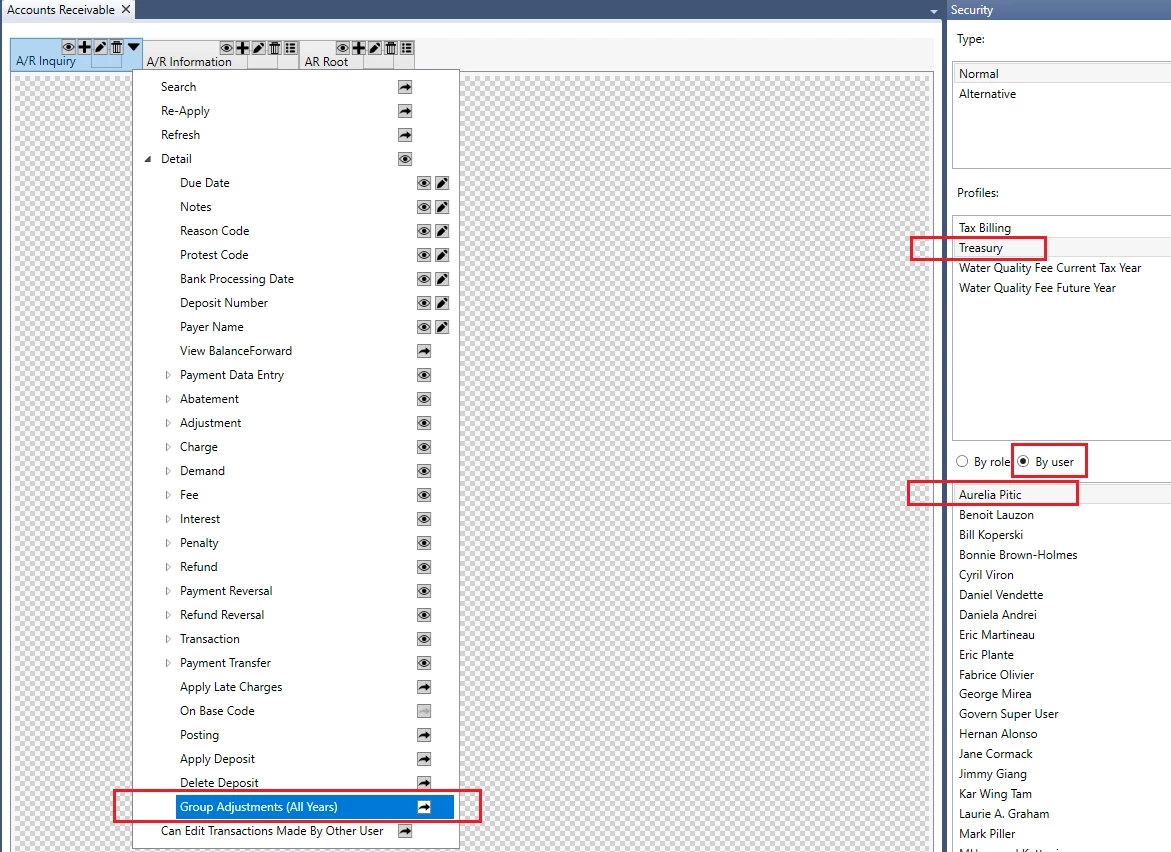
| 101-ar-fea-020 | Group Adjustments | |||
| 101-ar-fea-025 | BT – Period Validation for AR Deposit in CC Payment Data Entry | |||
| 101-ar-fea-026 | A/R Search to Load Feature | |||
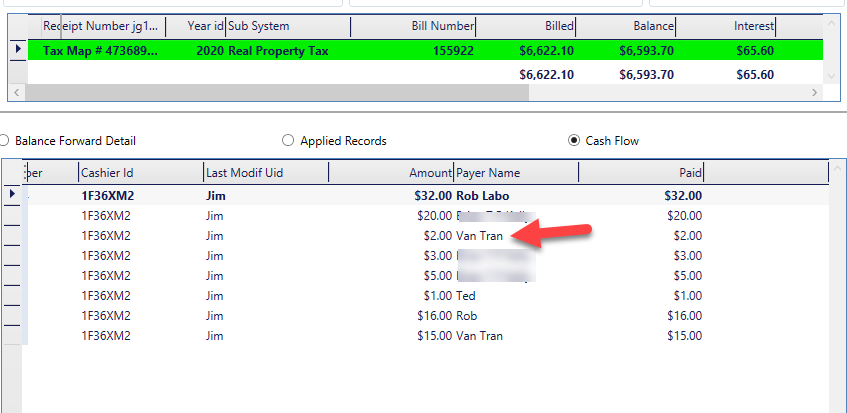
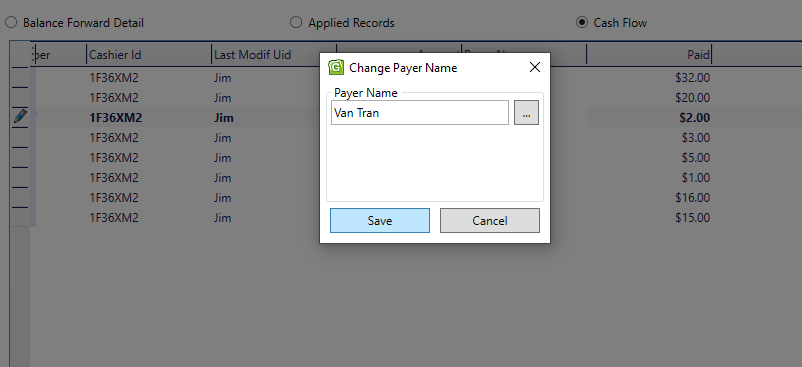
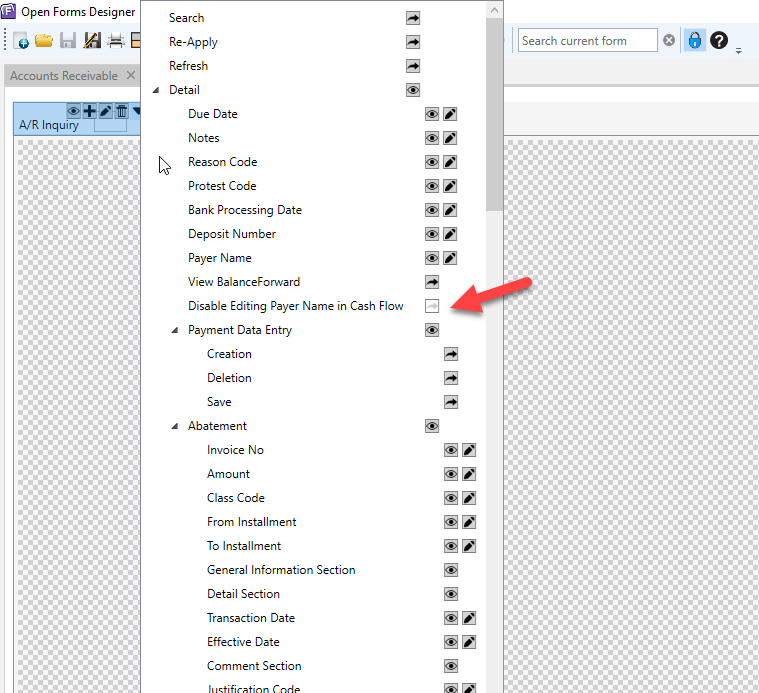
| 101-ar-fea-027 | Change Payer Name in A/R Inquiry | |||
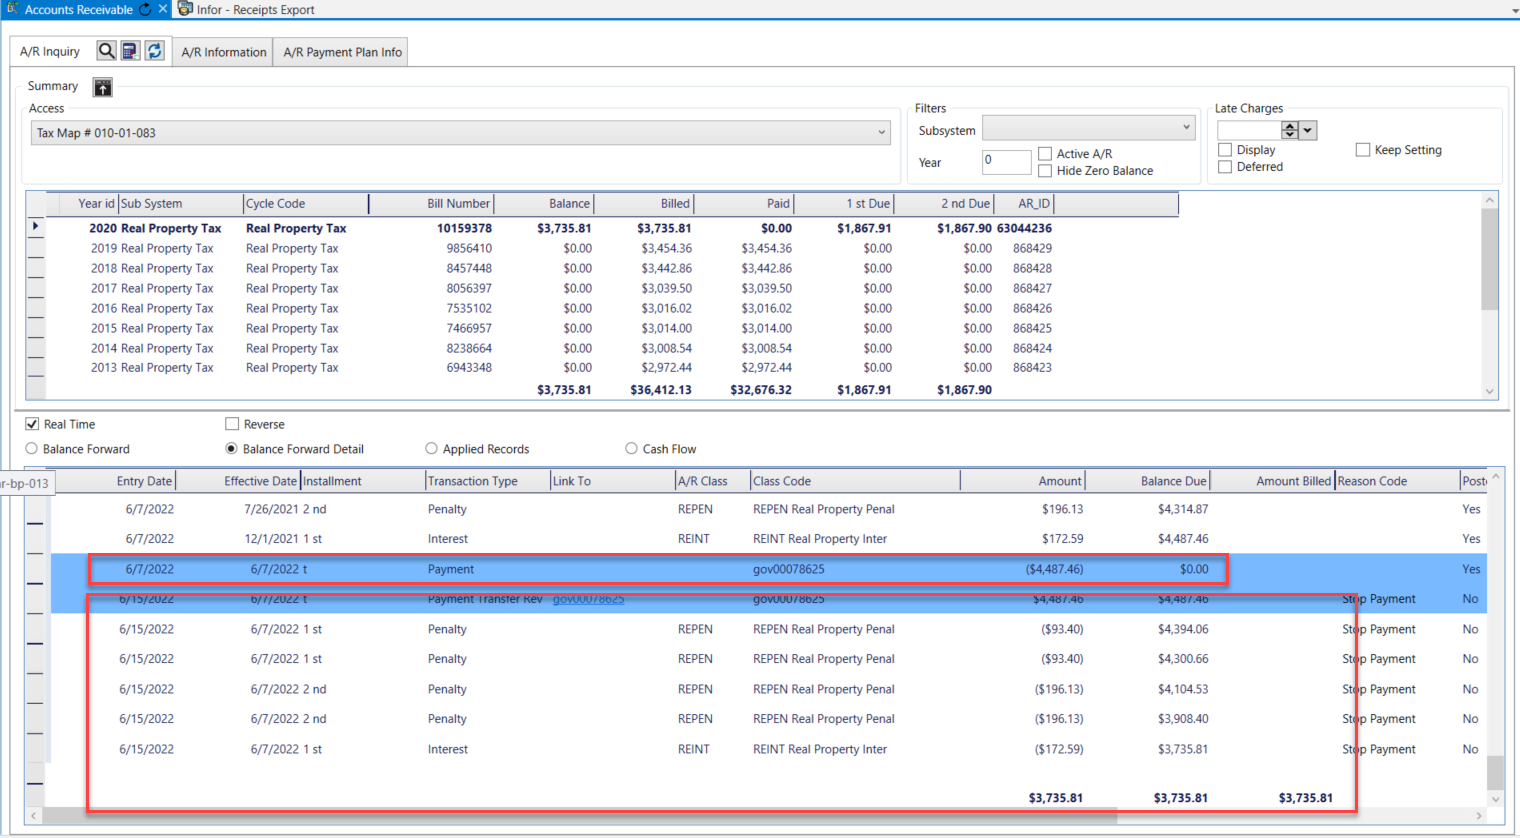
| 101-ar-fea-028 | AR Inquiry – Payment Transfer | |||
| ACH | 201-ar-fea-006 | ACH Processing eGovern | ||
| 101-ar-fea-016 | ACH Processing Govern Payment Plan (option) | Roadmap | 101-ar-fea-016 | |
| 101-ar-fea-017 | ACH Processing Credit Filing | |||
| ACH egov | 201-ar-fea-017 | ACH Processing eGovern Credit Filing (ST Remittance) | ||
| 101-ar-fea-007 | Allow Interest and Fees as of date | |||
| 101-ar-fea-008 | Allow Payment Plan Processing | |||
| 101-ar-fea-009 | Security by Property Area Fields | Roadmap | (DEV) 101-ar-fea-009 | |
| Custom Control Payer name | 101-ar-fea-021 | Payer name Custom Control (New) | 101-ar-fea-021-ofr | (DEV) 101-ar-fea-021 (QC) 101-ar-fea-021 |
| Action Button Control | 101-ar-fea-022 | Create A/R for MB, ST, RE, PP, etc. | 101-ar-fea-022-ofr | |
| 101-ar-fea-023 | A/R Method Waiver for Min/Max SRT Filings | |||
| 101-ar-fea-024 | AR Payment Action Button | 101-ar-fea-024-ofr | ||
| Cash Collection | 101-cc-frm-001 | Cash Collection Data Entry | CC wiki Map | (DEV) 101-cc-frm-001 |
Batch Process (bp)
Accounts Receivable Batch Processing
| Status | Wiki Page / Code | Batch Process Name | Batch Process | Supporting Information |
GFW Batch Process |
|---|---|---|---|---|---|
| Batch Processes | 101-ar-bp-001 | AR Apply Pending Credits | ar_applypencr | mnu_apply_cr | |
| 101-ar-bp-002 | AR Set Warning Flag on Delinquent | ar_setwarning | mnu_set_w_flag | ||
| 101-ar-bp-003 | AR Apply Penalty on Delinquent | ar_apppendelinq | mnu_ar_interest | ||
| 101-ar-bp-004 | AR Generate Delinquent Charges | ar_gendelinqchg | mnu_ar_charge | ||
| 101-ar-bp-005 | AR Apply Deposits | ar_appdeposits | |||
| 101-ar-bp-006 | AR Compute Balance As Of a Date | ar_compbaldue | mnu_late_charge | ||
| 101-ar-bp-007 | AR Extract As Of Date A/R Detail Table | ar_extrasofdate | mnu_extract_ar | ||
| 101-ar-bp-008 | AR Generate Refunds | ar_genrefunds | Missing batch process | mnu_gen_rf | |
| 101-ar-bp-009 | AR Generate Over and Short | ar_genovershort | mnu_bal_adj | ||
| 101-ar-bp-010 | AR Transfer to History | ar_tranartohist | mnu_ar_hist | ||
| 101-ar-bp-011 | AR Re-Initialize A/R Tables | ar_reinittables | mnu_ar_init_tab | ||
| 101-ar-bp-012 | AR Period Closing | ar_perclosing | mnu_ar_p_close | ||
| 101-ar-bp-013 | AR Transfer Credits from One Year to Another | ar_transcrd | mnu_ar_credit | ||
| 101-ar-bp-100 | AR Posting – Combined Posting of all type | Roadmap (14487) | |||
| 101-ar-bp-020 | AR Posting – Payments AR Posting – Cash Collection (CC or) |
ar_postcashcol | mnu_ar_cc | ||
| 101-ar-bp-021 | AR Posting – AR Transaction | Not available | |||
| 101-ar-bp-022 | AR Posting – Abatements and Exemptions | Not available | |||
| 101-ar-bp-023 | AR Posting – Adjustments | ar_postadjust | mnu_ar_adj | ||
| 101-ar-bp-024 | AR Posting – Interest, Penalties, Fees and Charges | Not available | |||
| 101-ar-bp-025 | AR Posting – Refunds | ar_postrefunds | mnu_ar_refund | ||
| 101-ar-bp-026 | AR Posting – Payment Reversals | ar_postpayrev | mnu_ar_rev | ||
| 101-ar-bp-027 | AR Posting – Payment Transfers | ar_postpaytrf | |||
| 101-ar-bp-030 | AR Posting – Postdated Payments | ar_postdatedpmt | mnu_ar_pdt | ||
| 101-ar-bp-031 | AR Posting – Deposits | ar_postdeposit | mnu_ar_deposit | ||
| eGov | 201-ar-bp-033 | AR eReipting (e-Gov System) | ar_ereceipting | ||
| eGov | 201-ar-bp-034 | AR eBilling (eGov System) | ar_ebilling | ||
| 101-ar-bp-035 | AR Create AR Levy Close File? | ar_levyclose | |||
| 101-ar-bp-036 101-ar-frm-036 |
AR Lock Box Batch Process Posting AR Lock Box Maintenance Form |
ar_lockbox | 101-frm-036-config Lockbox Layout to distribute 6.0/61 Change Assessment |
||
| 101-ar-bp-038 | AR Generate Check Refund Numbers | ar_gencheck | |||
| DC | 101-ar-bp-039 | AR Transfer Delinquency | GA 1609 | Batch process to transfer delinquant accounts to Delinquency | |
| Other | 101-ar-bp-040 | AR Generate GL Account | gl_tranacc_updt | General Ledger Account Update | |
| 101-ar-bp-041 | AR Generate Payment Reversals for a Batch | ar_gen_reversal | GA 1609 | Batch process to create payment reversals for a posted batch of payments | |
| ACH | 101-ar-bp-060 | AR ACH Pre-notification File | ar_ach_prenote | GA1609 | |
| 101-ar-bp-061 | AR ACH Prepare Data for ACH File Balance Due | ar_ach_bal | GA1609 | ||
| 101-ar-bp-062 | AR ACH Generate ACH File | ar_ach_file | GA1609 | Changed from 037 to 060 AR ACH File Process | |
| 101-ar-bp-063 | AR ACH Post Dated Payment Plan | Roadmap | Changed from 039 to 063 | ||
| 101-ar-bp-064 | AR ACH Update Payment Plan Status | version 6.0 only | |||
| eGov | 201-ar-bp-065 | AR ACH Process for Web Payments | Validate if any changes | ||
| Tax billing | 101-tx-bp-040 | Tax TSO Registration | tx_tso_registr | ||
| 101-tx-bp-041 | Tax TSO Bill Request | tx_tso_billreq | |||
| 101-tx-bp-042 | Tax TSO Generate Tax Amount | tx_tso_amount | |||
| 101-tx-bp-043 | Tax TSO Batch Payment Generation | tx_tso_pmtgen | |||
| 101-ar-bp-080 | AR Batch Deletion of Payments | ar_delpayments | mnu_ar_pmt_del | ||
| 101-ar-bp-081 | AR Batch Deletion of Refunds | ar_delrefunds | mnu_ar_rf_del | ||
| 101-ar-bp-082 | AR Batch Deletion of A/R Transactions | ar_deltrans | mnu_ar_tran_del | ||
| Bankruptcy | Bankruptcy | ||||
| 101-br-bp-050 | AR Bankruptcy Posting | bk_postbkruptcy | |||
| 101-br-bp-051 | AR Bankruptcy Delinquent Posting | bk_postdelinq | |||
| General Ledger | 101-ar-bp-040 | AR GL Account | gl_tranacc_updt | ||
| Parameters | 103-ar-bp-105 | Copy AR CLass Code Batch Process | ar_copy_to_year |
Reports (rpt)
Accounts Receivable Standard Reports
| Status | Wiki Page | Batch Process Name | Report Process Name | Supporting Information | Description | |
|---|---|---|---|---|---|---|
| Edits & Balancing | 101-ar-rpt-001 | A/R report | ||||
| 101-ar-rpt-002 | ||||||
| 101-ar-rpt-003 | ||||||
| 101-ar-rpt-004 | Cash Balancing Report | cashbal.rpt | under construction | Version 6.0 and 6.1 | ||
| ACH Processing | 101-ar-rpt-060 | ACH Edit List (Encryption Method Backward Compatible) | ach_list | Roadmap | This reports displays ACH information. | |
| 101-ar-rpt-061 | ||||||
| 101-gl-rpt-001 | AR Distribution General Ledger | auxialgl.rpt |
Business Rules
| Status | Wiki Page | Name | Document Type | Notes |
|---|---|---|---|---|
| 101-ar-ref-TransactionRules | AR Transaction Rules | (table) | The Golden rules of AR Transactions | |
| 101-ar-ref-TransactionType | AR Transaction Type System Table | (table) | ||
| 101-ar-ref-GLAccountingRules | AR to GL Account Business Rules | (rules)(schema) | ||
| 101-ar-brules-validation | AR Object Error Reporting | |||
| 101-ar-brules-payment | Payment Application Priorities | |||
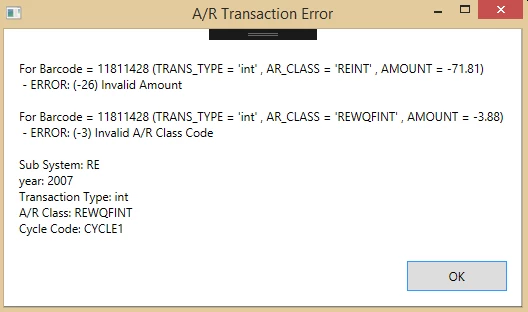
| 101-ar-ref-ErrorCodes | AR Posting Error Table |
Application Parameters
See GNA map for more information
| Status | Wiki Page | Name | Notes |
|---|---|---|---|
| 103-ar-parm-General | General AR Parameters | ||
| 103-ar-parm-Deposit | Deposit Management Parameters | ||
| 103-ar-parm-Priorities | Sub-System Payment Application Priorities | ||
| 103-ar-parm-ARClasscode | A/R Class Codes | ||
| 103-ar-parm-GLAccounts | A/R GL Account | ||
| 103-ar-parm-CC | Cash Collection Parameters | ||
| 103-ar-parm-ACH | ACH Parameters | ||
| 103-ar-parm-Tables | System and Validation Tables | ||
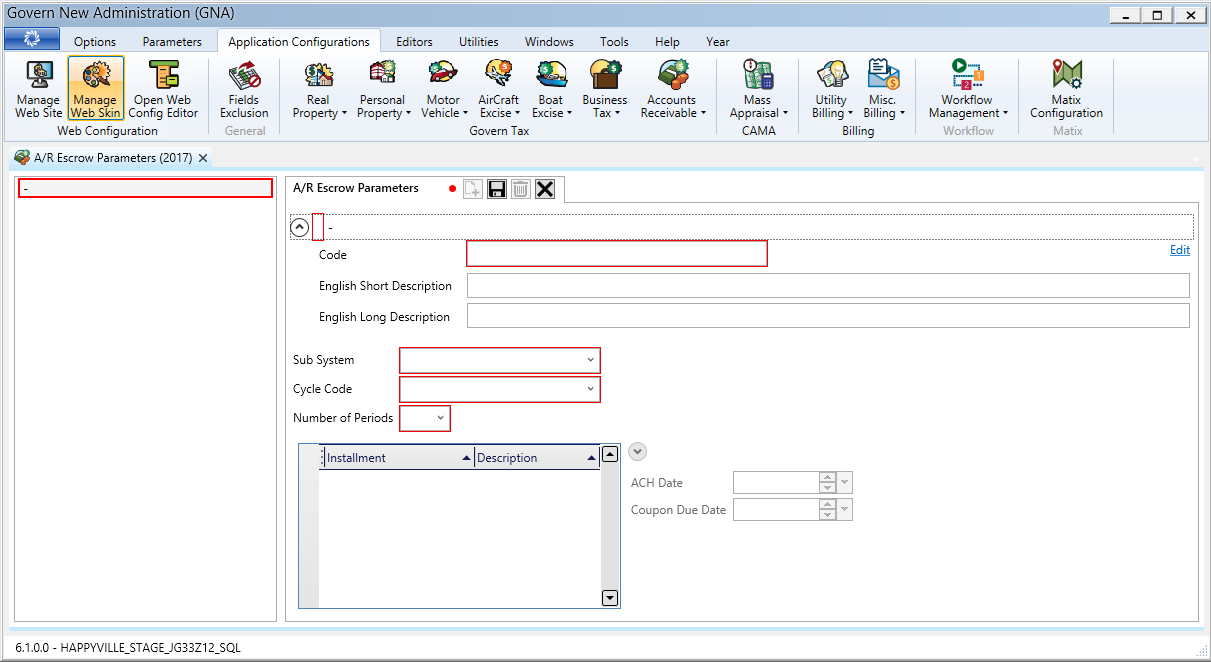
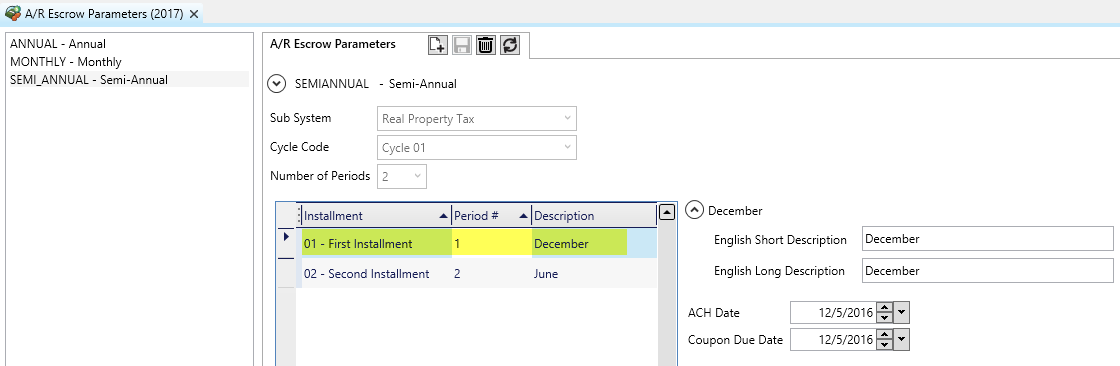
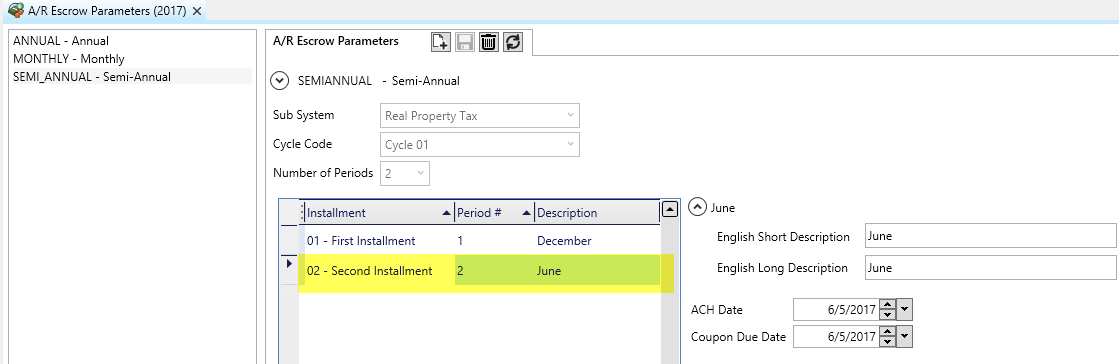
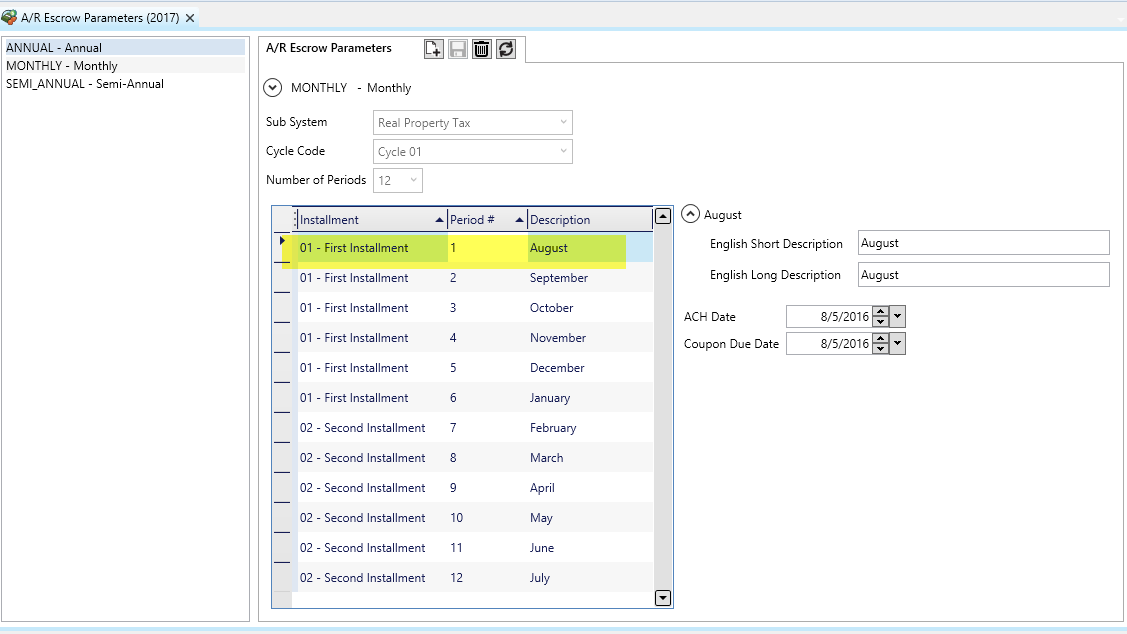
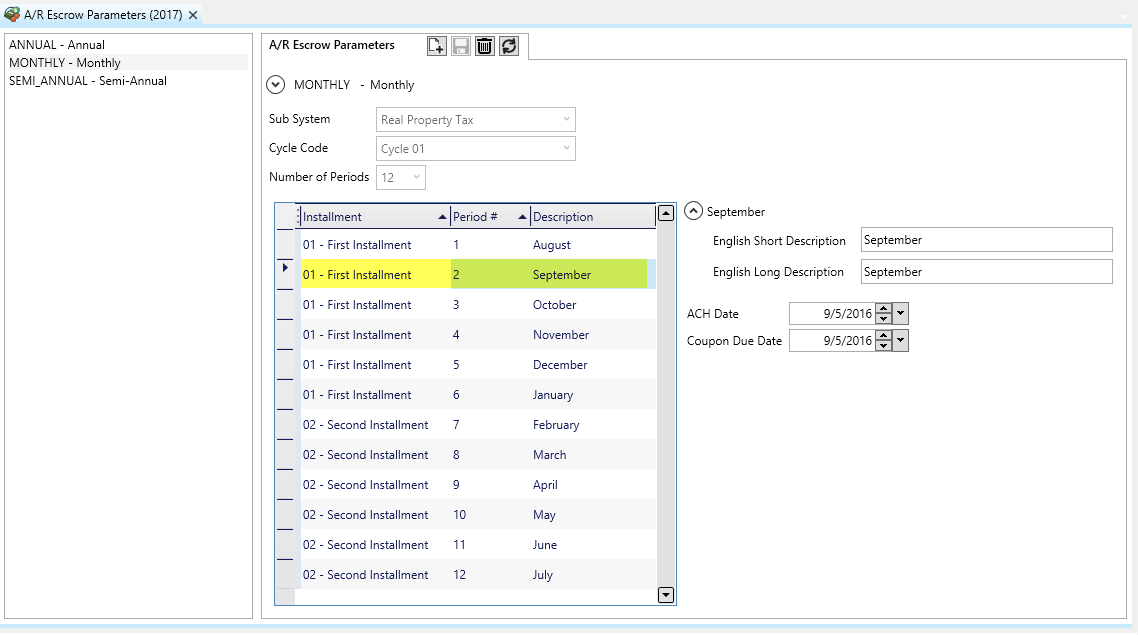
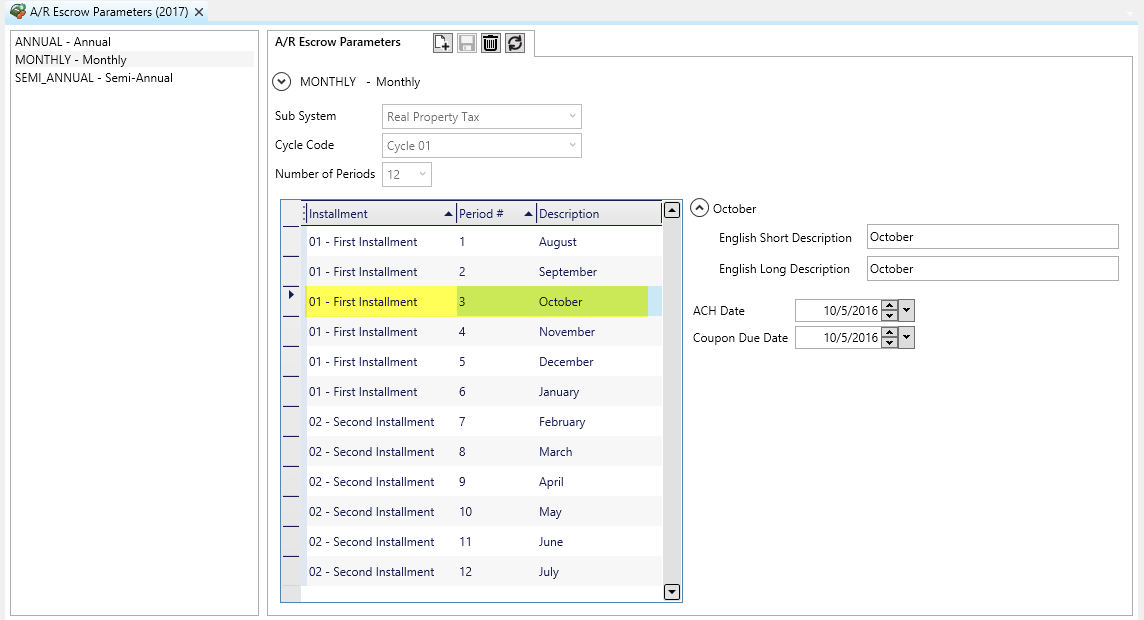
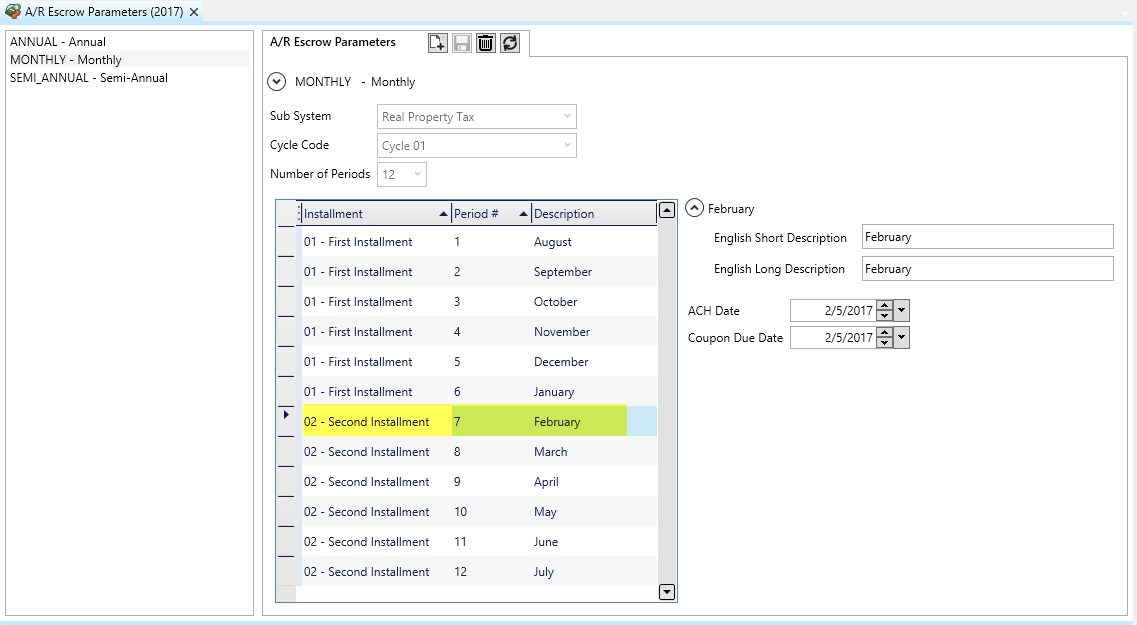
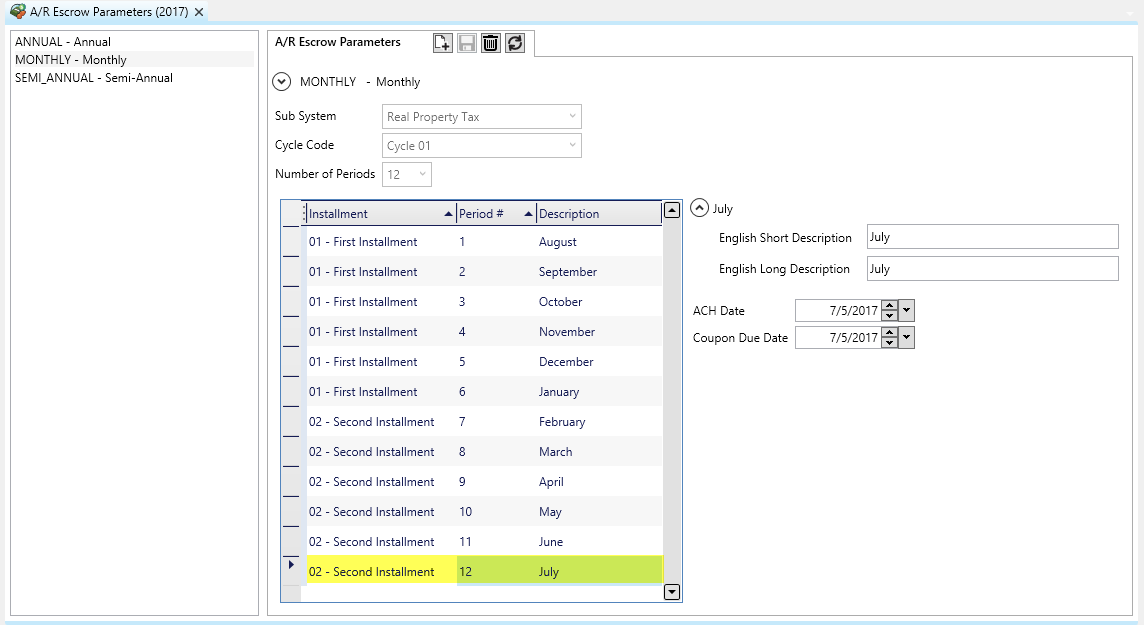
| 103-ar-parm-Escrow | Escrow Paramters | ||
| 103-ar-parm-CopyYear | Copy AR Class Code to Year | ||
| 103-ar-parm-Calendar | A/R Parameters Calendar |
101-ar-map
 (0 votes, average: 0.00 out of 5)
You need to be a registered member to rate this.